1. The "Vague Brief" Syndrome
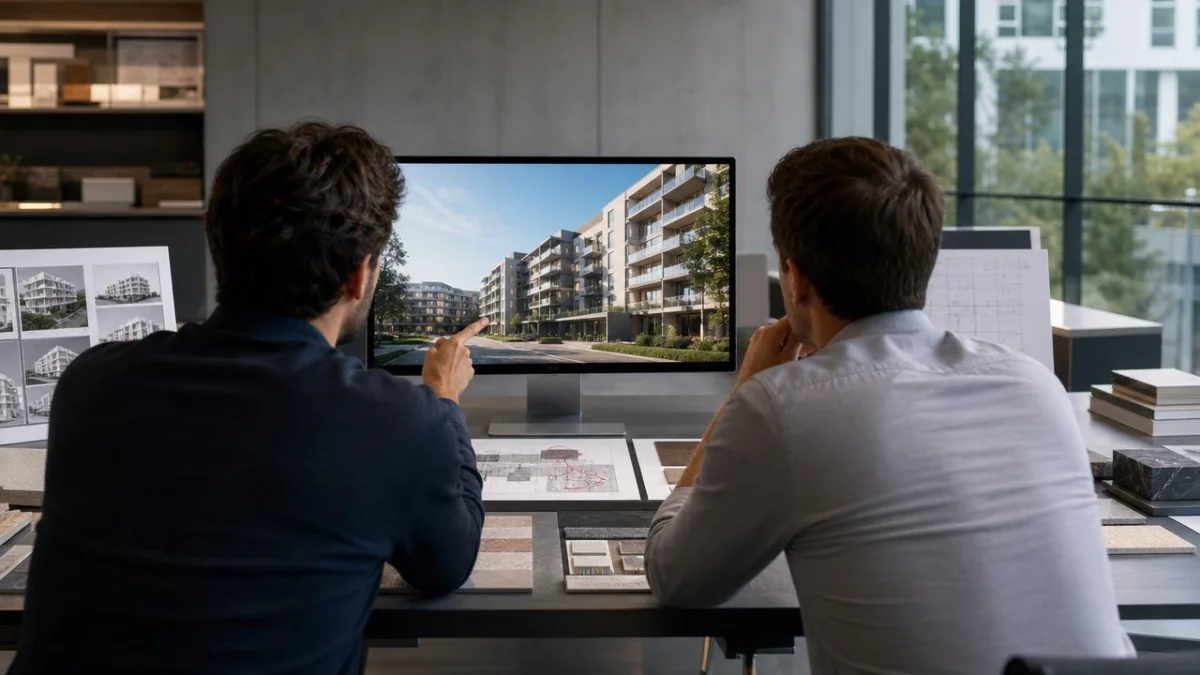
The Mistake: Sending a project with the instruction: "Make it look modern and luxurious."
"Luxury" is subjective. To a minimalist architect in Switzerland, it means raw concrete and glass. To a developer in Dubai, it might mean gold accents and marble. Without visual references, the 3D artist is guessing, not visualizing.
The Solution:
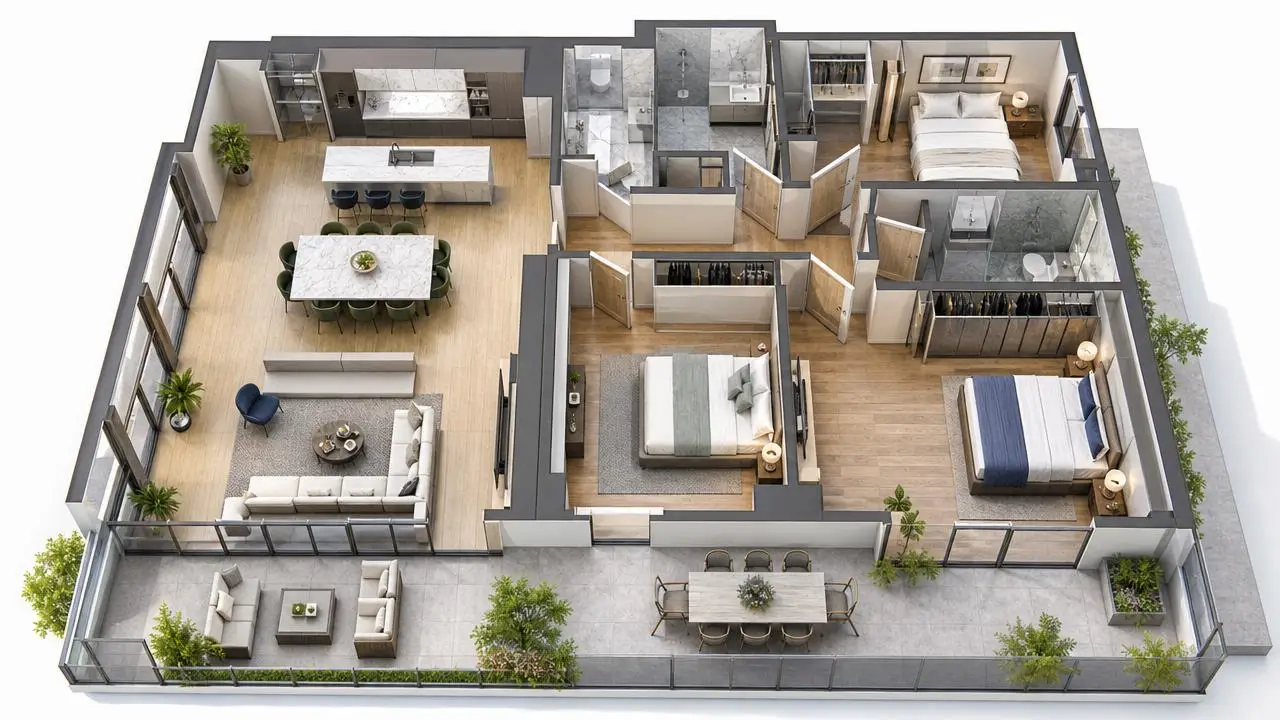
Never start a project without a Mood Board. Provide 3-5 images of other projects that capture the lighting, material palette, and atmosphere you want. If you are ordering interior design visualization, specify the furniture brands or style (e.g., "Minotti style sofa" vs. "IKEA style").
2. Changing Camera Angles During Texturing
The Mistake: Treating a 3D rendering like a photograph that can be cropped later.
In 3D workflow, the artist sets the camera first. Lighting, reflection maps, and high-detail modeling are often optimized specifically for what that camera sees. Moving the camera 45 degrees to the left after the scene is built often requires rebuilding the background and re-calculating the lighting.
The Solution:
Treat the "Clay Render" (White Model) stage as your point of no return. Confirm the composition and camera angle at this stage. Once you sign off on the geometry and angle, any change to the view should be considered a new rendering.
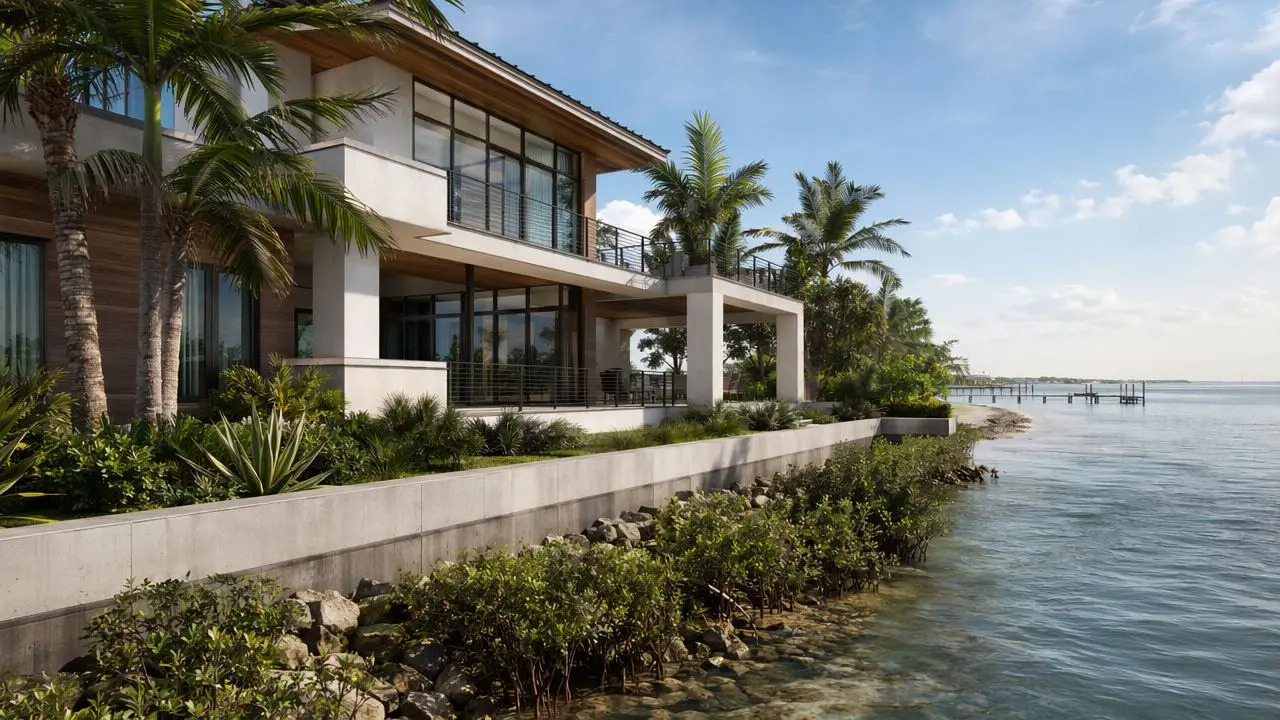
3. Ignoring the "Sun Study"
The Mistake: Asking for a "sunny noon shot" for a north-facing facade.
If your building’s main facade faces North, a noon sun will put the entire front in shadow. To make it look bright, the artist has to fake the sun position. Savvy buyers will notice the shadows are physically impossible, which damages credibility.
The Solution:
Provide the exact GPS coordinates or site orientation. Trust the 3D artist to recommend the best time of day (Golden Hour or Blue Hour) to highlight the architecture naturally. See examples of correct lighting in our exterior visualization portfolio.

4. Sending "Work in Progress" CAD Files
The Mistake: "Start with these plans, I will send the updated window specs tomorrow."
This approach guarantees confusion. If the 3D team models the old windows, they have to delete and re-model them later. This burns through your revision limit before you even see a color image.
The Solution:
Freeze your design before hiring a visualization studio. If the design is still fluid, be honest about it. We can work with evolving designs, but it requires a different billing structure (hourly) rather than a fixed project fee. Read our guide on The Ultimate Checklist Before Hiring a 3D Rendering Studio to prepare your files correctly.
5. Overlooking the "Entourage" (People and Cars)
The Mistake: Leaving the population of the scene to chance.
A luxury retirement community should not feature young hipsters on skateboards. A family-oriented suburb needs SUVs, not Ferraris in the driveways. Incorrect "entourage" creates cognitive dissonance for your target buyer.
The Solution:
Define your target demographic in the brief. Specify:
- Demographics: Families, young professionals, retirees?
- Ethnicity: Relevant to the project location (e.g., UAE vs. Scandinavia).
- Activity: Relaxing, working, shopping?
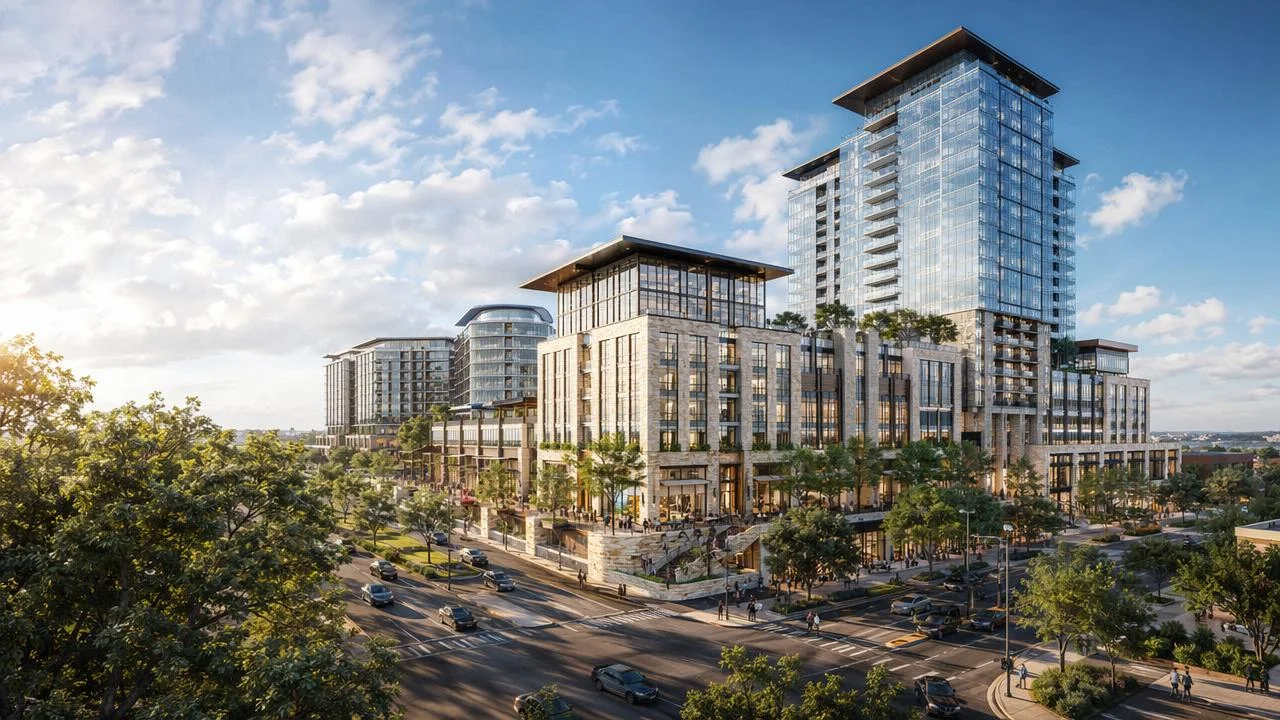
6. Misunderstanding Resolution Requirements
The Mistake: Ordering standard 4K renders for a highway billboard.
A standard 4K render (approx 3840px wide) looks crisp on a website or brochure. However, if you print that on a 10-meter hoarding fence, it will look pixelated and blurry.
The Solution:
Tell the studio the final application of the image.
- Social Media/Web: 2K - 4K
- Brochures (A4/A3): 4K - 5K
- Billboards/Hoardings: 8K - 12K (Requires extra rendering time).
7. Drip-Feeding Revisions
The Mistake: Sending five separate emails with one comment each over two days.
- Email 1: "Change the floor."
- Email 2: "Also move the lamp."
- Email 3: "Actually, change the floor back."
This disrupts the artist's workflow and causes version control errors.
The Solution:
Consolidate feedback. Wait until your internal team (architect, marketing director, CEO) has reviewed the draft. Compile one single PDF or marked-up image containing all instructions for that round. This speeds up the turnaround time by 30-50%.
8. Underestimating Animation Production Time
The Mistake: "Can we turn this image into a video by Friday?"
No. A static image takes hours to render; a 3D walkthrough video takes weeks. Animation requires a storyboard, camera path animation, and rendering 30 frames for every second of footage.
The Solution:
If you think you might need animation, decide it at the start. We can optimize the 3D scene for both stills and video simultaneously, which saves money compared to doing them as separate projects.
9. Ignoring Vertical Video (Shorts/Reels)
The Mistake: Ordering only horizontal (16:9) content.
In 2025, over 70% of real estate consumption happens on mobile devices via Instagram Reels, TikTok, or YouTube Shorts. Cropping a wide landscape render to a vertical format often cuts out the roof or the ground.
The Solution:
Request "Social Media Crops" in your initial scope. We can set up specific cameras for 9:16 vertical formats to ensure your project looks perfect on a smartphone screen.
10. Focusing on Price Instead of Value
The Mistake: Choosing the lowest bidder to save $500, then spending $2,000 on rush fees to fix the low-quality work.
Low-cost rendering farms often use library assets that don't match your architectural specs. The cost of fixing a bad render is often higher than creating a good one from scratch.
The Solution:
Vet your partner based on their portfolio and workflow transparency. Review our Portfolio to see the consistency of quality we deliver across different project types.
Summary Checklist: How to Guarantee Success
To ensure your next visualization project runs smoothly, follow this simple protocol:
- Freeze the Architecture: Ensure plans are 95% final.
- Define the Purpose: Web, print, or billboard?
- Set the Mood: Provide reference images for lighting.
- Batch Feedback: One email per revision round.
- Respect the Process: Approve the White Model before demanding textures.
Ready to start a project the right way? Contact Ravelin3D today. We help you navigate the technical requirements to deliver stunning visuals on time and on budget.


'%3e%3cpath%20d='M23.3971%207.52388C22.0124%2010.1548%2018.9371%2014.2051%2016.3629%2016.8761C13.3954%2020.0856%206.39983%2024.4744%206.39983%2024.4744C5.85983%2024.7578%204.36066%2024.7794%203.94857%2024.3677L2.45719%2022.8802C2.14928%2022.3657%202.01074%2021.769%202.45719%2021.3931L5.44101%2019.1608C5.94593%2018.8196%206.5203%2018.7505%206.93239%2019.1612L8.77101%2020.9938C9.20365%2020.6901%2016.1096%2016.1642%2019.9512%209.93333L18.0687%208.05537C17.6566%207.6447%2017.7267%207.07175%2018.0687%206.56754L20.3066%203.59258C20.7187%203.04266%2021.3866%203.1812%2021.798%203.59258L23.2904%205.0797C23.8751%205.62856%2023.7057%206.90876%2023.3971%207.52388ZM24.5685%204.01742L22.2239%201.6799C21.5772%201.0336%2020.527%201.03396%2019.8796%201.6799L16.3633%206.35565C15.8261%207.14616%2015.7163%208.04758%2016.3629%208.69352L17.7983%2010.1247C16.7342%2011.5498%2015.4572%2013.1046%2014.0194%2014.5382C12.3937%2016.1589%2010.5852%2017.6329%208.95916%2018.8433L7.57196%2017.4611C6.9253%2016.8148%206.02176%2016.9239%205.2277%2017.4611L0.538854%2020.9675C-0.247056%2021.5093%20-0.108866%2022.6595%200.538854%2023.3058L2.8831%2025.6426C4.17853%2026.9345%205.86231%2026.521%207.57196%2025.6426C7.57196%2025.6426%2012.747%2022.7459%2017.1775%2018.3278C21.3451%2014.1715%2024.5685%208.69352%2024.5685%208.69352C25.2403%206.84994%2025.8636%205.30896%2024.5685%204.01742Z'%20fill='%23FFAA00'/%3e%3c/g%3e%3cdefs%3e%3cclipPath%20id='clip0_2729_2176'%3e%3crect%20width='26'%20height='26'%20fill='white'%20transform='translate(0%200.463867)'/%3e%3c/clipPath%3e%3c/defs%3e%3c/svg%3e) +1 (646) 693 0048
+1 (646) 693 0048
 main@ravelin3d.com